
![]() Maatwerkoplossingen
Maatwerkoplossingen
![]() Betrokken & direct
Betrokken & direct
![]() Resultaatgericht
Resultaatgericht
![]() Samen voor de beste oplossing
Samen voor de beste oplossing
Business Intelligence
eenvoudiger en slimmer werken
Wij zijn de one-stop dienstverlener op gebied van Data Management en Business Intelligence. Wij ondersteunen mensen en organisaties met het ontsluiten van data tot bruikbare inzichten. Met eenvoudige en toekomstbestendige oplossingen. Door onze kennis te delen en beschikbaar stellen van de juiste tools en methodieken maken wij jou en jouw organisatie zelfredzaam. Wij gaan samen voor de beste oplossing.
Oplossingen

Consultancy BI en Data Management
Herken je ook de uitdagingen op het gebied van kennis en capaciteiten? Ben jij verantwoordelijk voor de informatievoorziening en op zoek naar een professionele Business Intelligence consultant? Eén die goed luistert en professioneel, betrokken, gepassioneerd en betrouwbaar is. Iemand die zich continu blijft ontwikkelen, sterke communicatieve vaardigheden heeft en expert is op technisch en/of business gebied, of als projectleider. Iemand op wie je altijd kunt rekenen voor actueel, relevant en onafhankelijk advies. Lees verder hoe OceanBI hierbij kan ondersteunen.
Lees meer over consultancy
DDM Studio
Ontwikkelen naar een data driven organisatie en een sterk fundament neerzetten in de vorm van een goed ingericht Datawarehouse, maar ontbreekt het aan technische kennis? Ons simpele datamanagement platform, DDM Studio, stelt klanten in staat om een datawarehouse veel sneller, gemakkelijker en in lijn met uw bedrijf te implementeren en te onderhouden. Automatisering, wendbaarheid en snelheid zijn de kenmerken van onze technologie.
Lees meer over DDM StudioOnze samenwerkingen

Over ons
Onze uitdaging is het om de complexiteit rond informatie management systemen te reduceren tot eenvoudige, begrijpelijke actie. Dóen met resultaat, maar wel met een degelijk plan. Waar het kan de verwachtingen overtreffen en als het moet anders (blijven) denken. Het is de moeite waard om gebaande wegen kritisch te benaderen, we realiseren enorme kostenbesparingen terwijl de kwaliteit van het resultaat niets inlevert. Een zee van informatie, opgehaald uit de data binnen uw bedrijfsprocessen, kraakhelder en inzichtelijk.
Meer over ons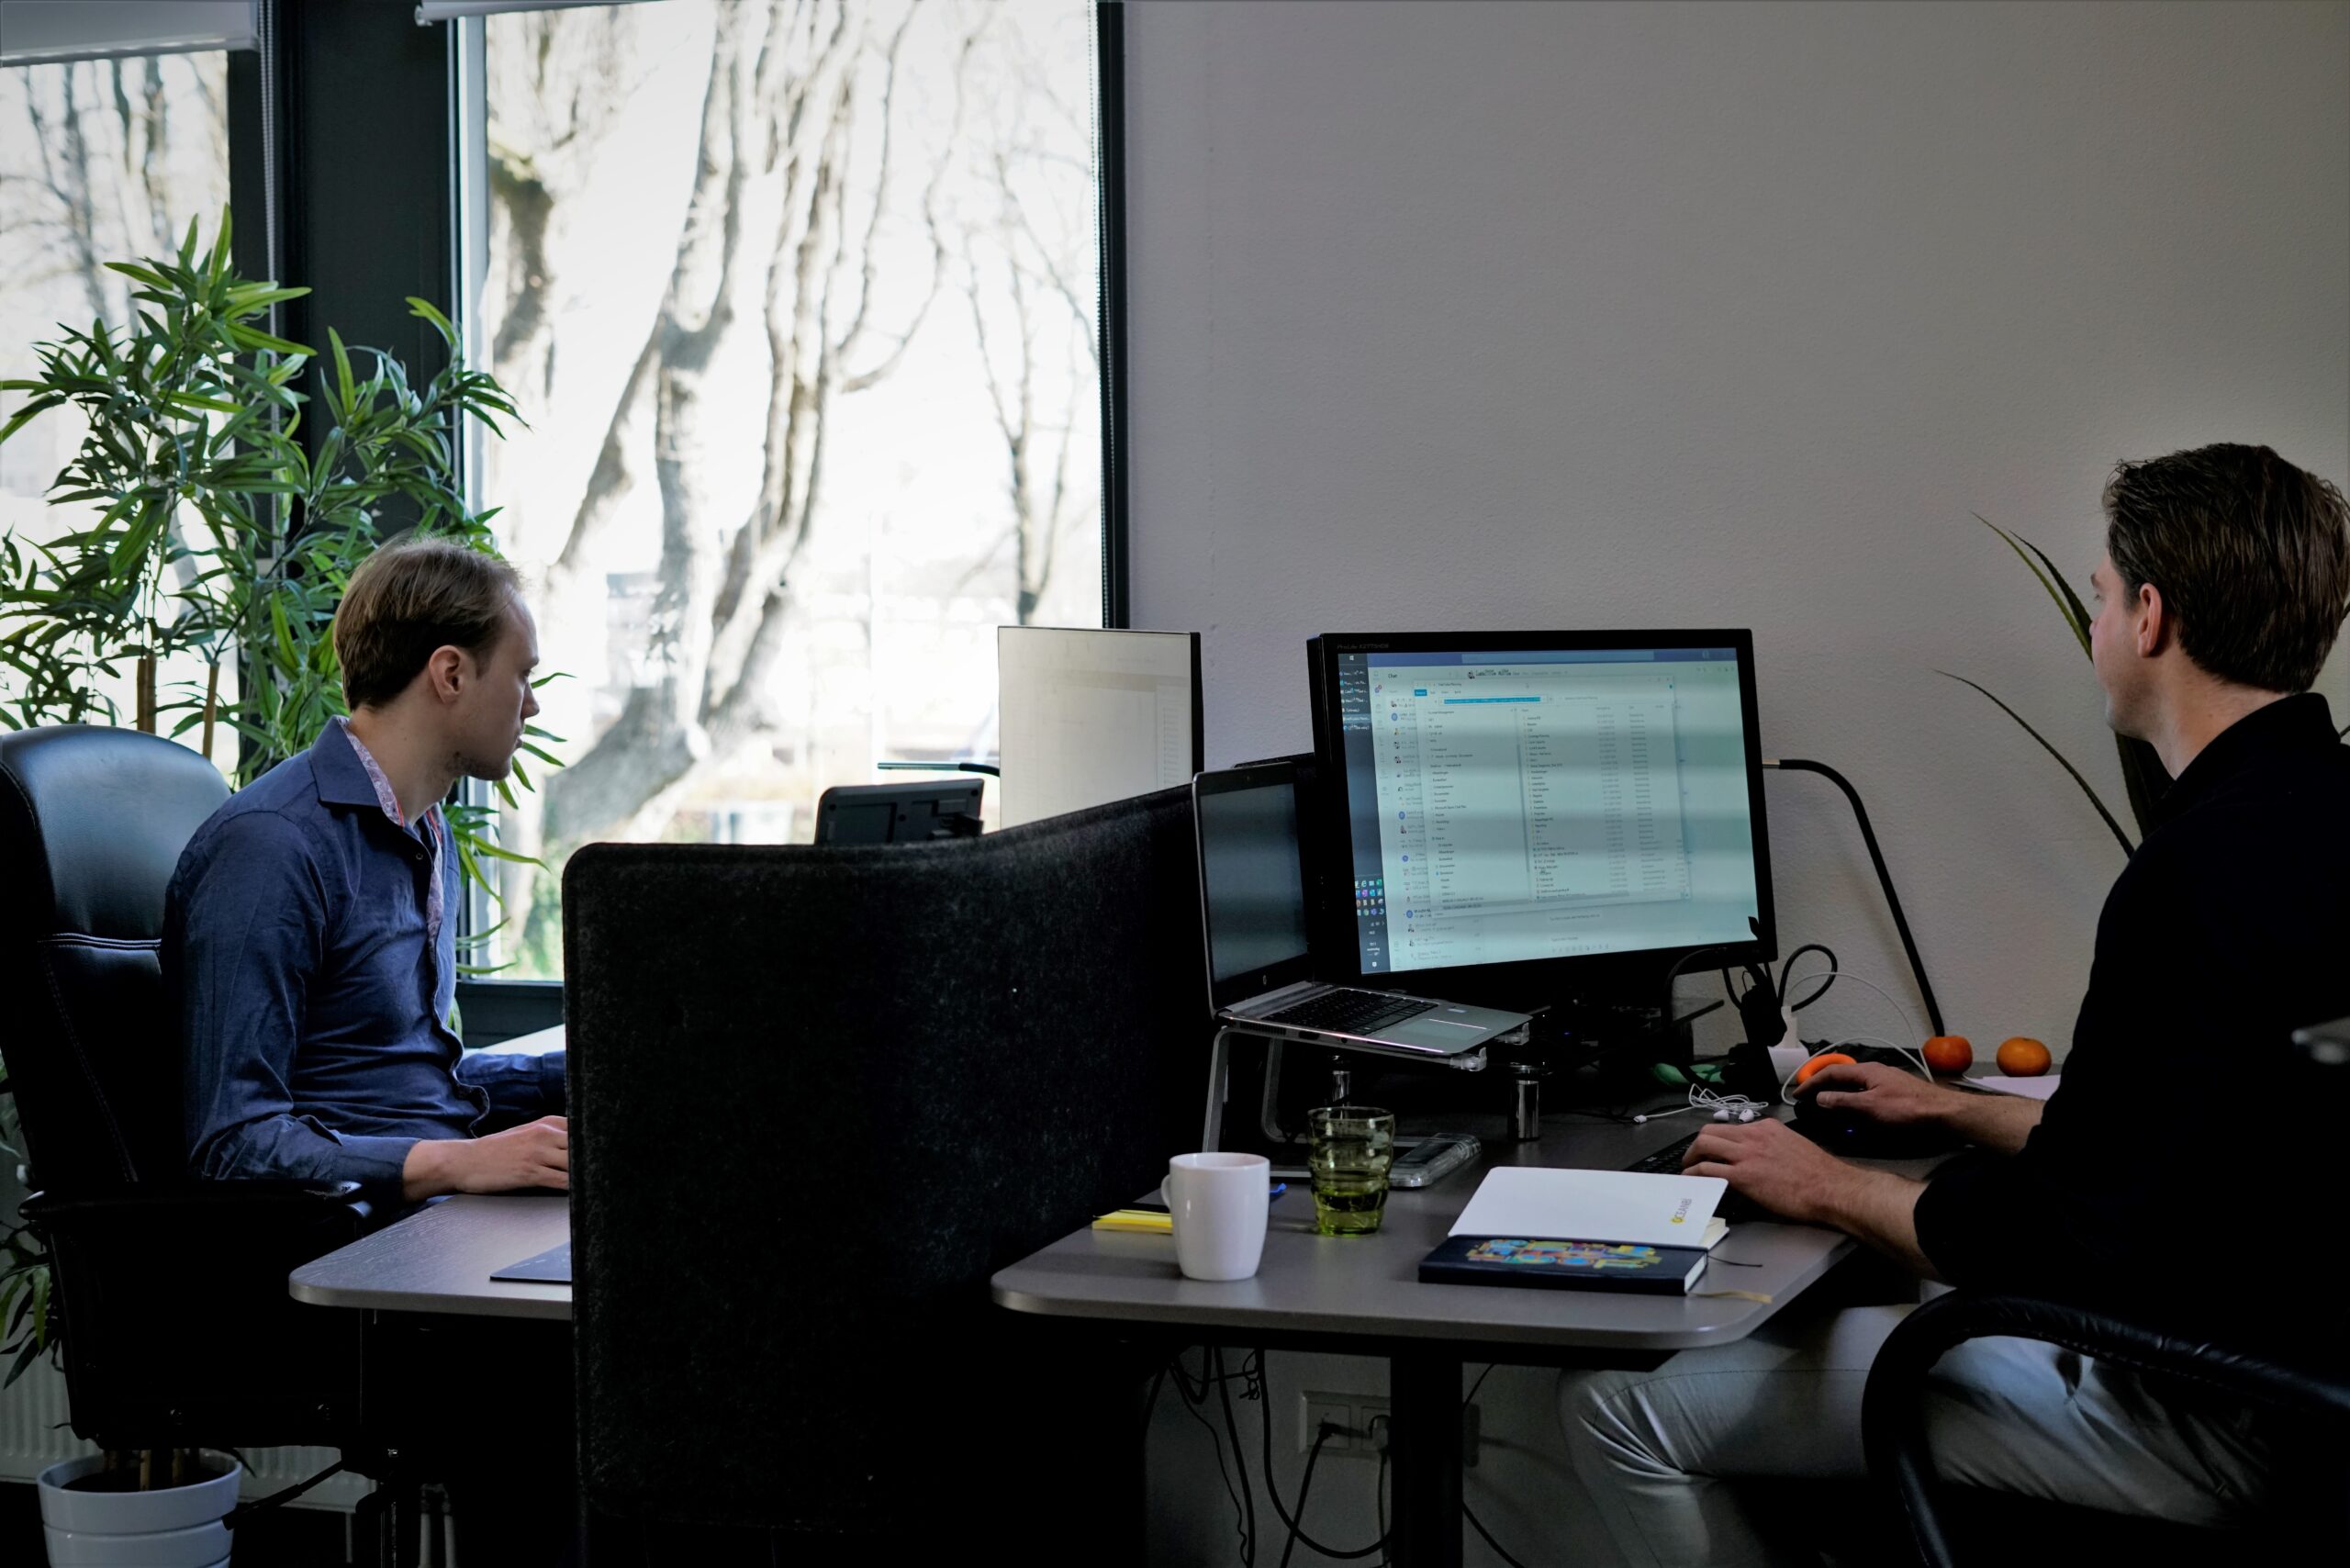
Vacatures
Medior Business Intelligence Consultant
Heb je al enige jaren ervaring op het gebied van Business Intelligence? Wil je je verder ontwikkelen in dit vakgebied bij mooie opdrachtgevers waar je trots op kunt zijn? En wil je nu wel eens werken bij een organisatie die wars is van hiërarchie en waar positief ingestelde mensen werken die denken en handelen in oplossingen? Dan moet je deze vacature echt even goed lezen.
Junior Business Intelligence Consultant
Je realiseert je dat Data de toekomst (van IT) is. Het lijkt je gaaf om enorme hoeveelheden data beschikbaar en inzichtelijk te maken voor jouw klanten. Zodat zij op basis daarvan betere beslissingen kunnen nemen, bijvoorbeeld op het gebied van performance, operations of hun klanten. Hoe mooi zou het zijn als jij hen op die manier succesvoller maakt?
Junior Accountmanager Data Management
Werken als accountmanager is jouw ding. Maar daarbij wil je je wel blijven ontwikkelen en van betekenis zijn voor je klanten in een bijzonder dynamische omgeving, zoals die van Data Management. In dat geval nodigen we je uit om te solliciteren op onze vacature Junior Accountmanager Data Management.
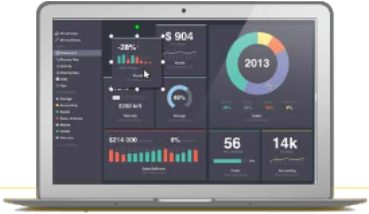
Al je data inzichtelijk met DDM Studio
Vraag hier een gratis demo aan!Utrecht
Laan van Chartroise 166c
3552 EZ Utrecht
info@oceanbi.com
Tel: 088 028 0842
Roosendaal
Kroevenlaan 31
4707 BJ Roosendaal